01 — Design
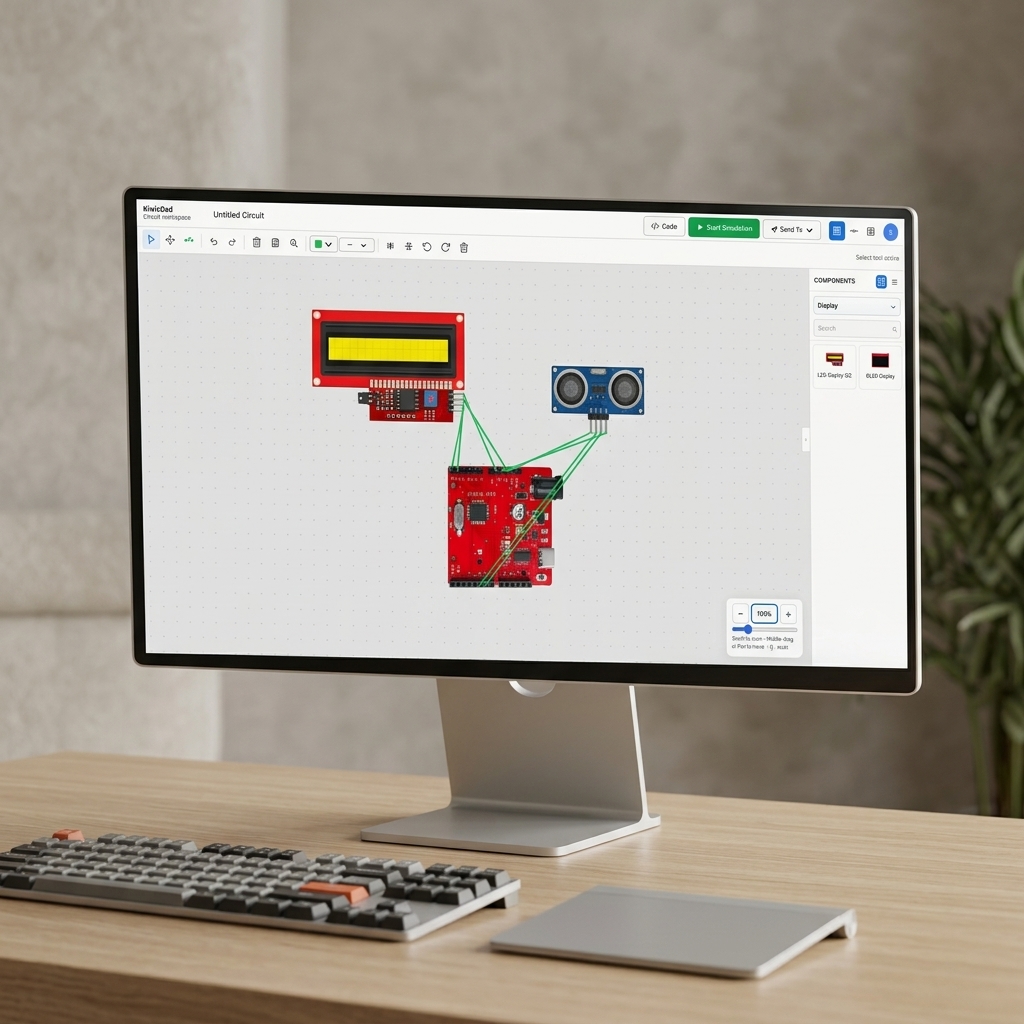
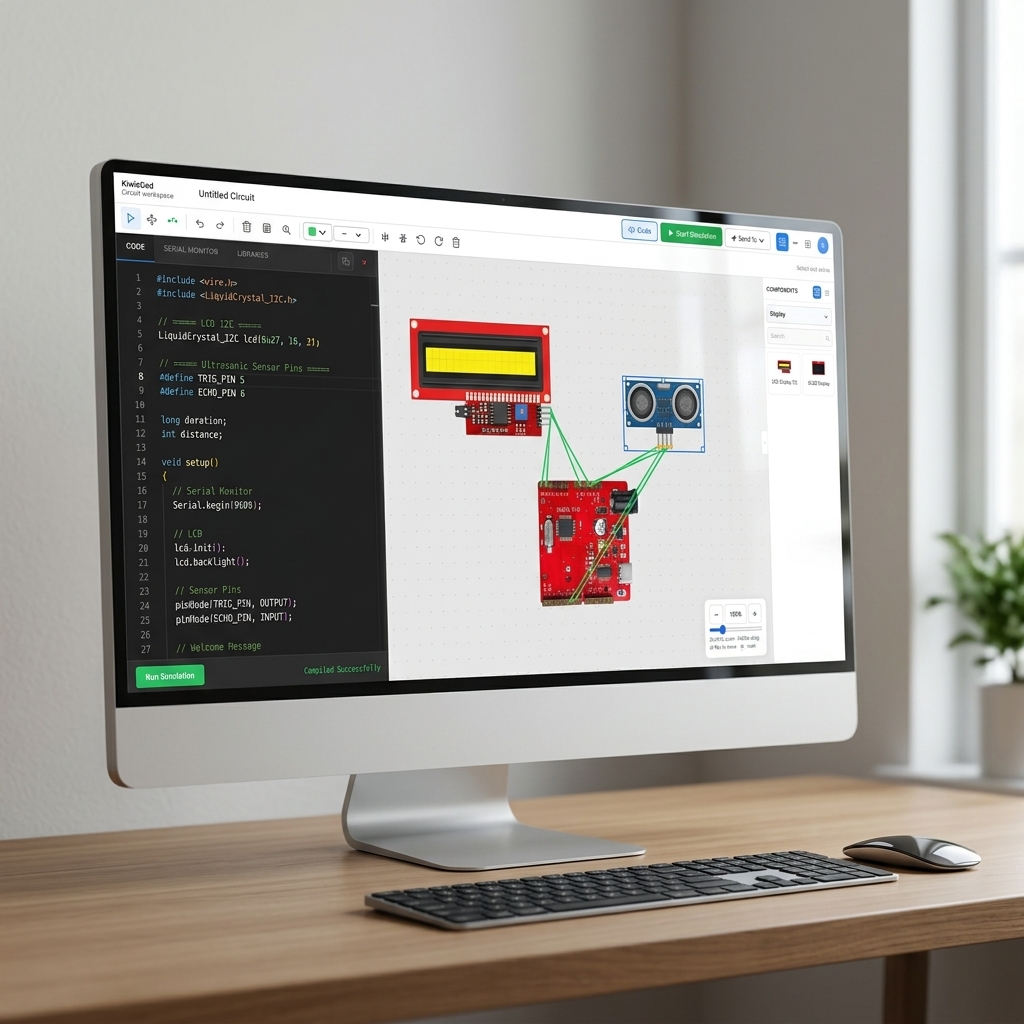
Visual Circuit Editor
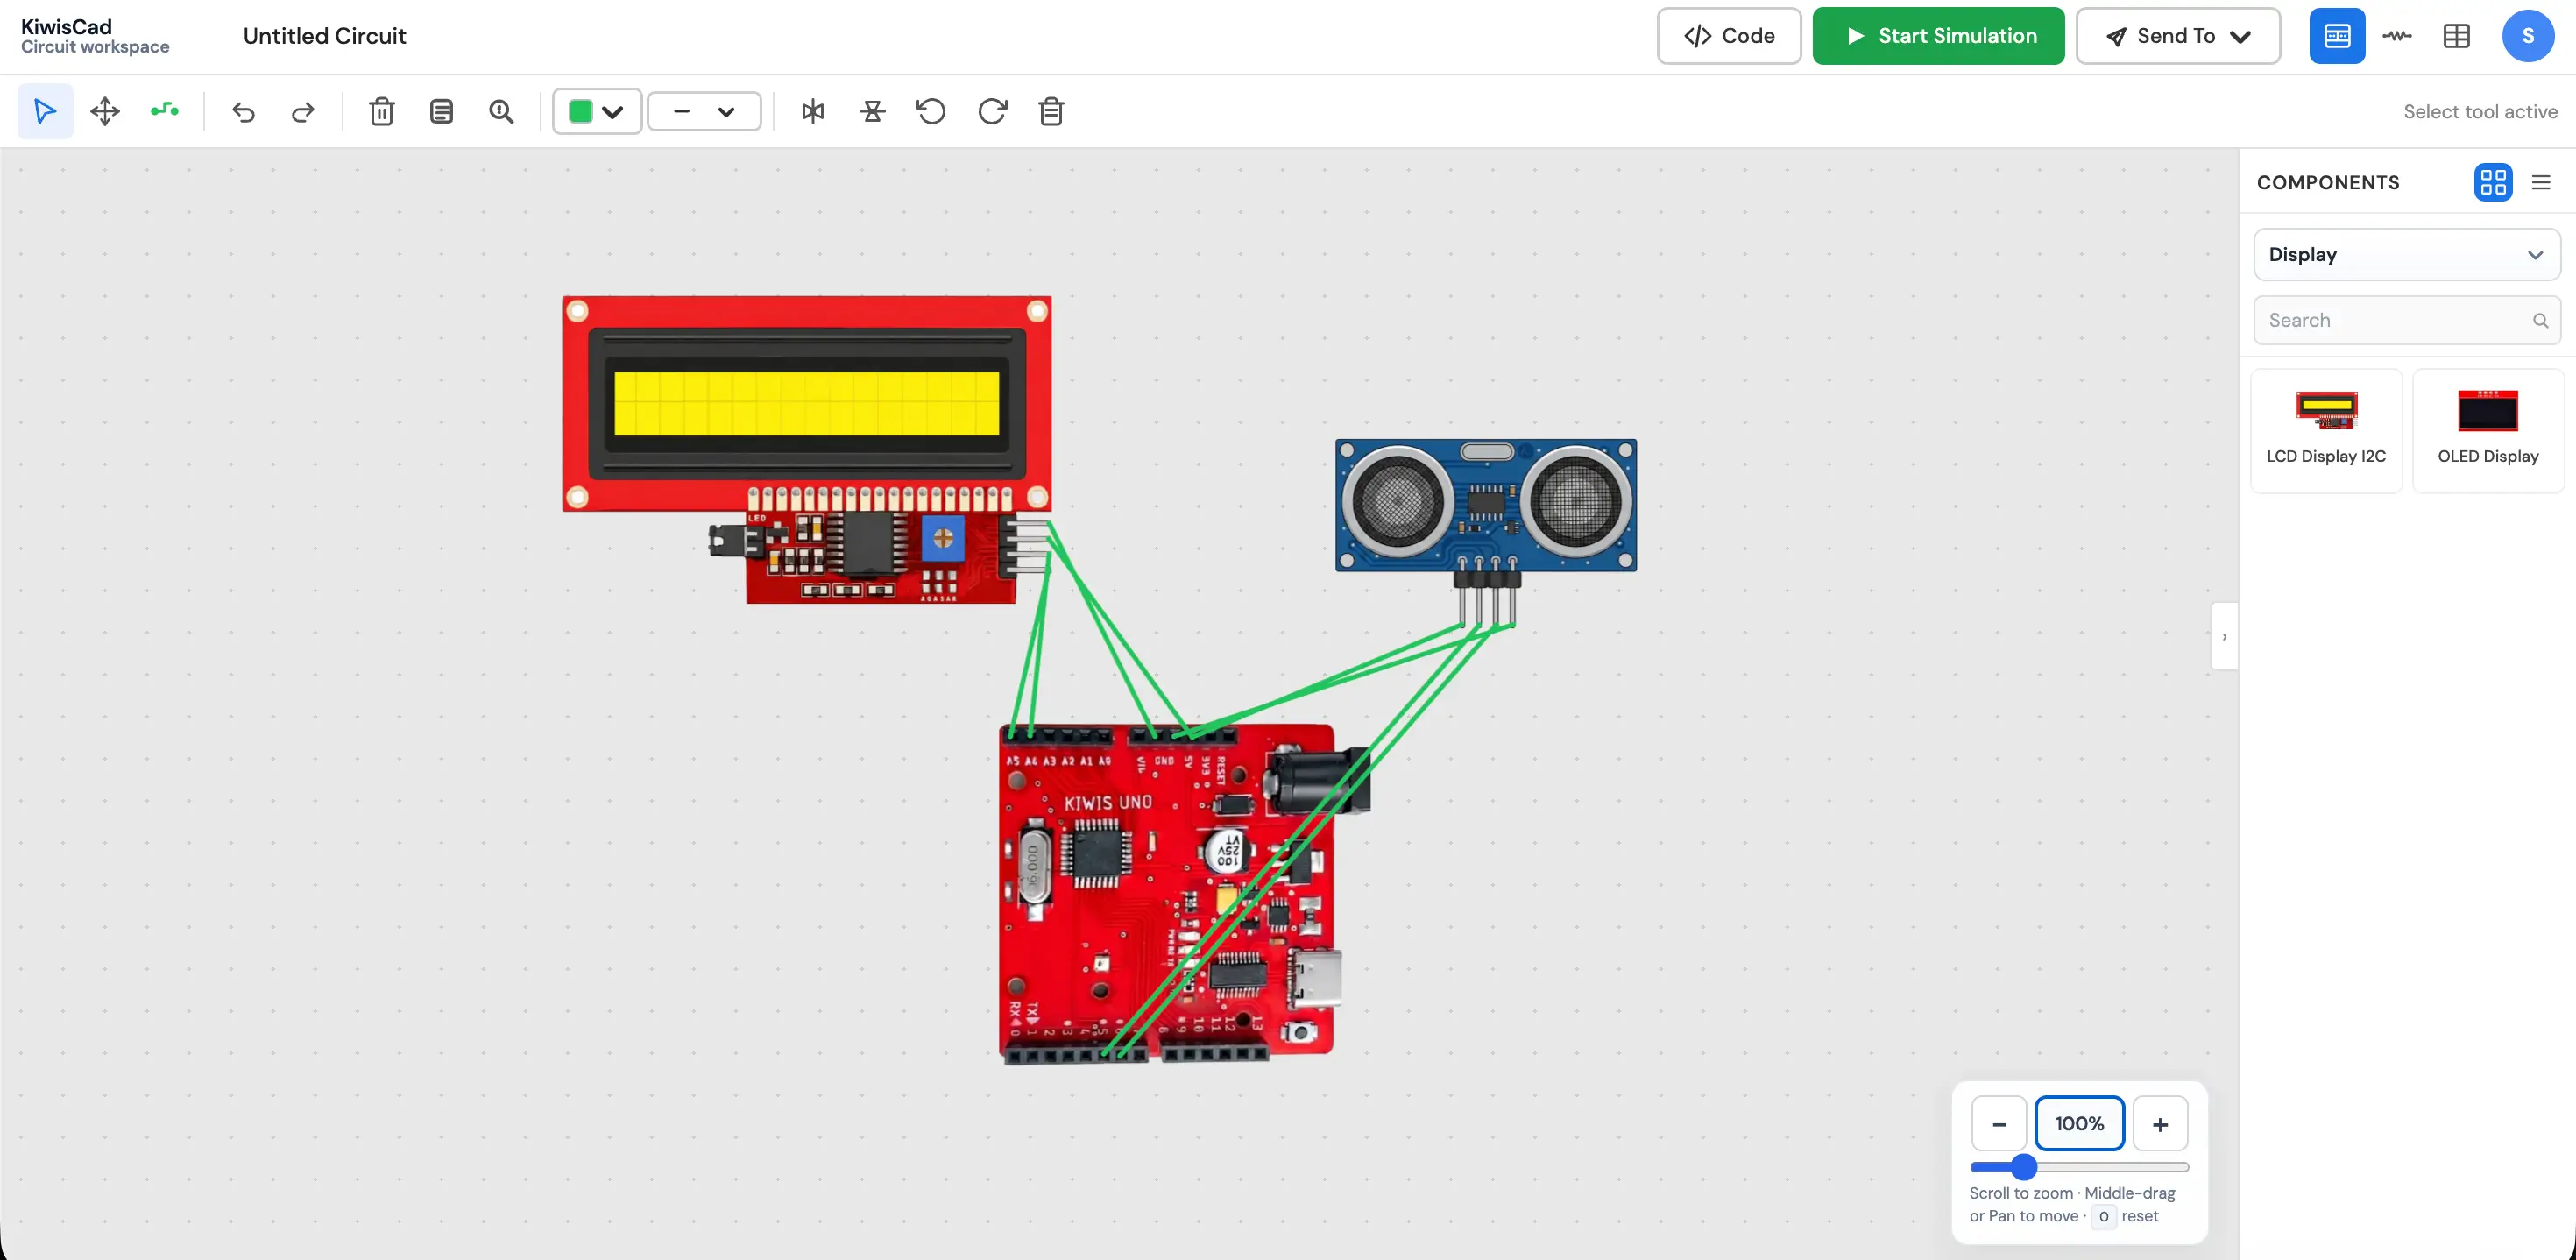
Build your circuits on a beautiful virtual canvas. Drag and drop your Arduino and components, and connect their wires easily before writing any code.
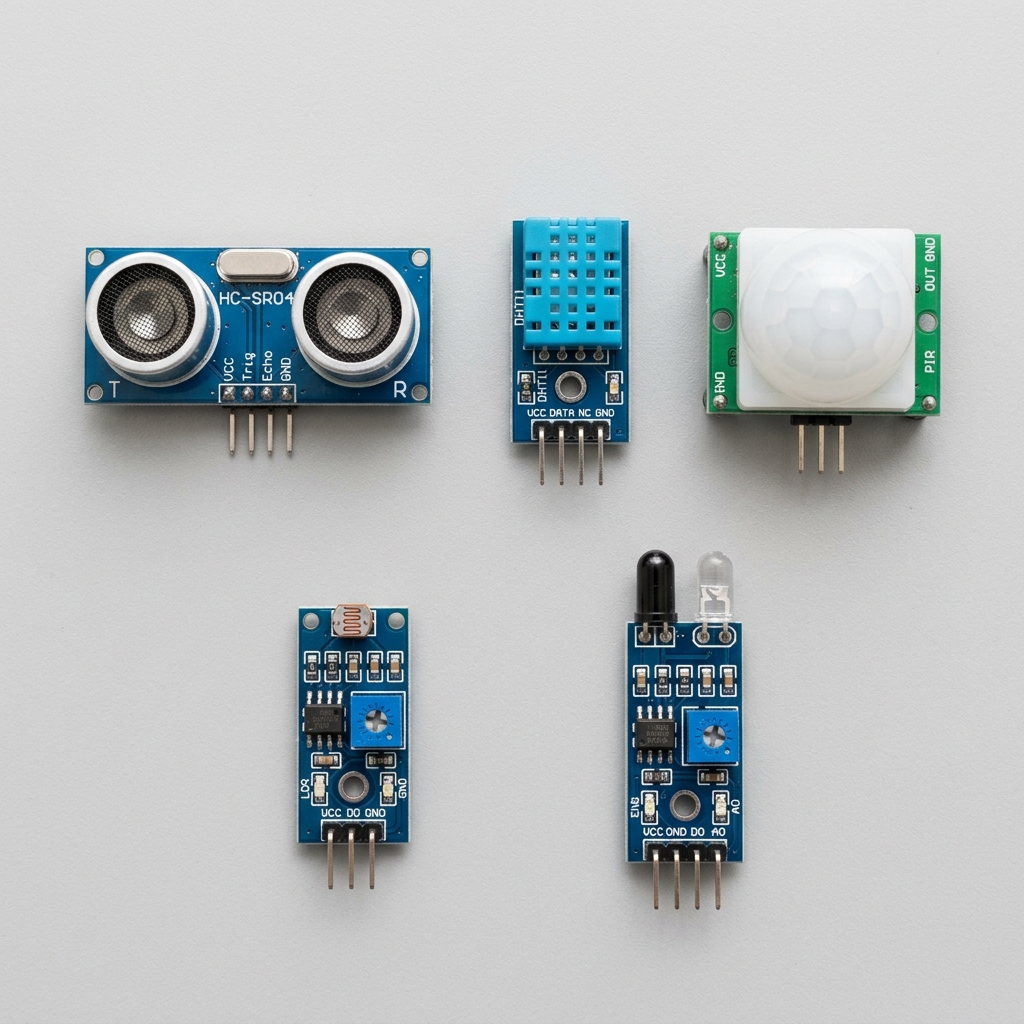
- Drag & drop components
- Clean virtual workspace
- Easy flexible wiring